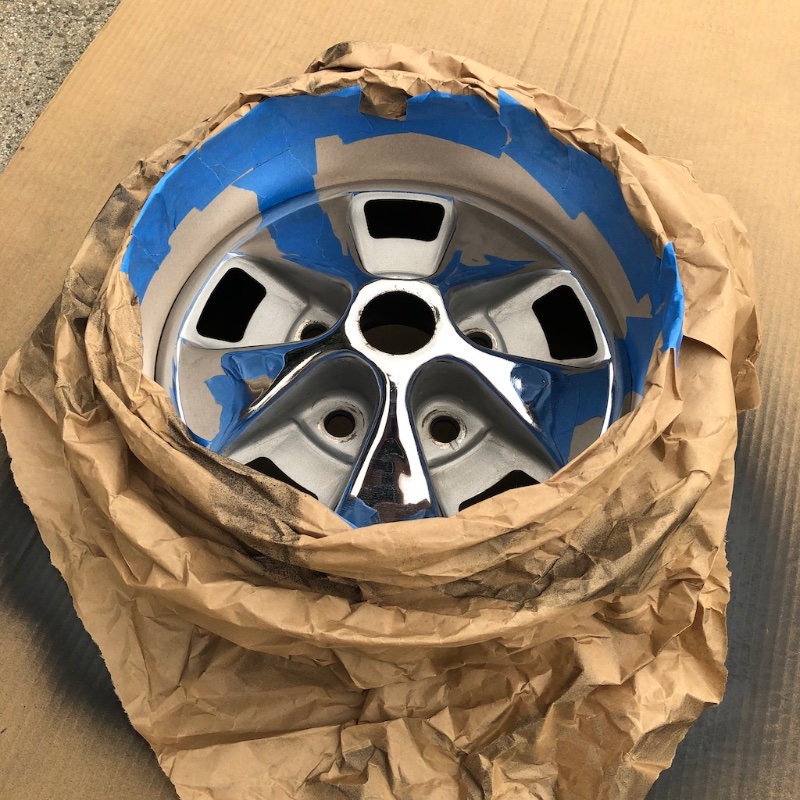
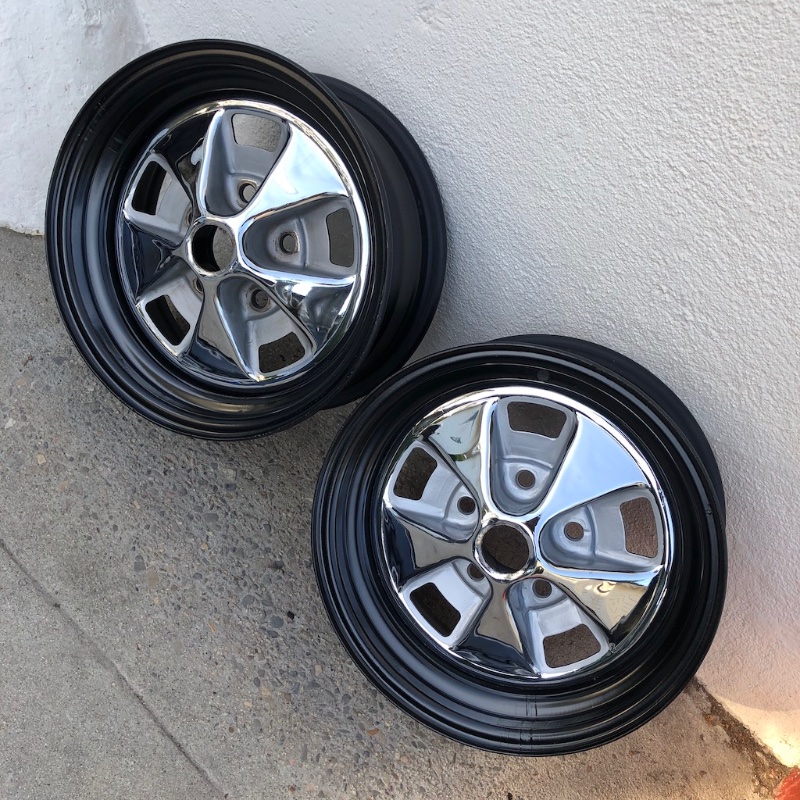
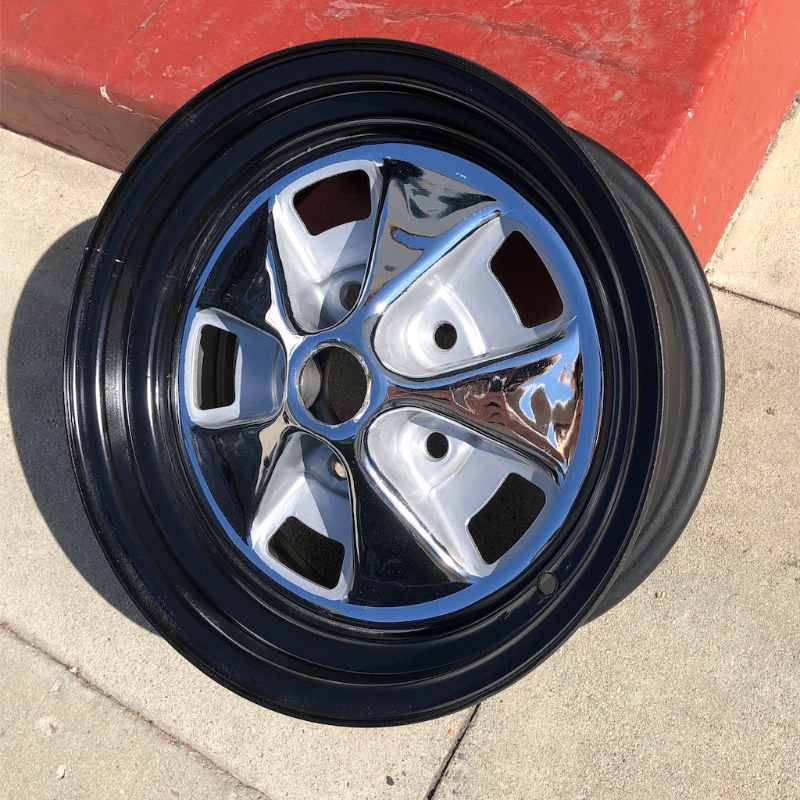
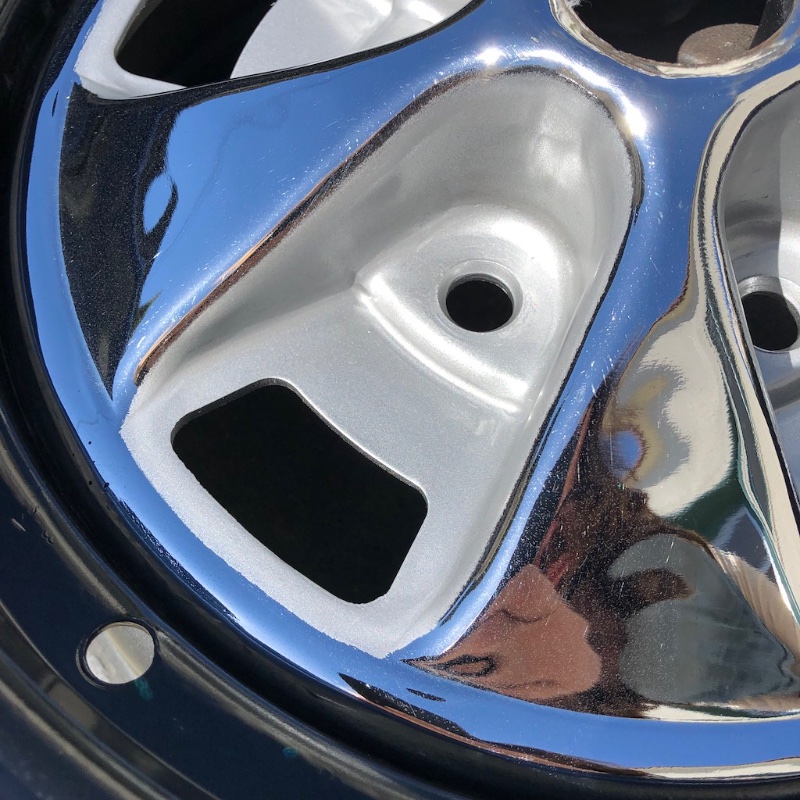
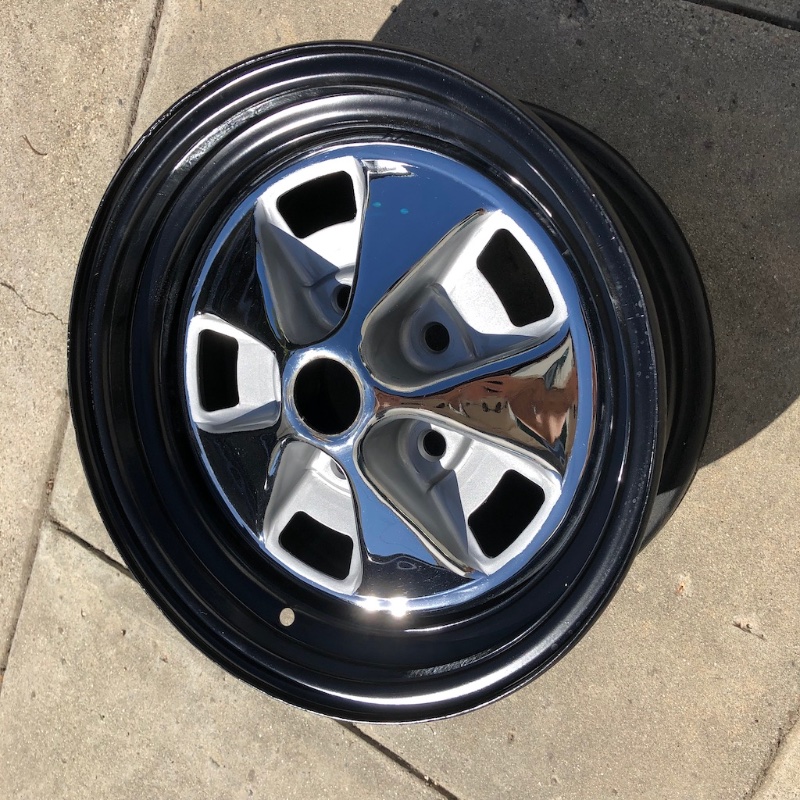
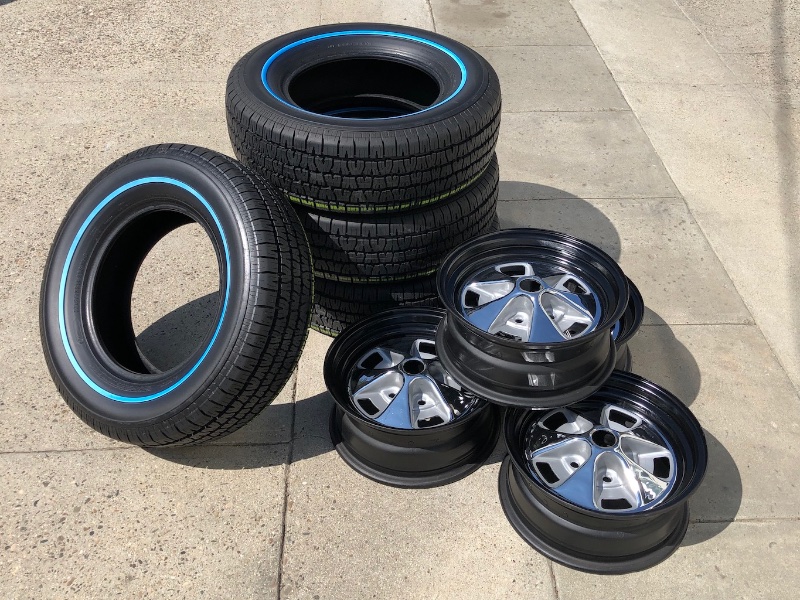
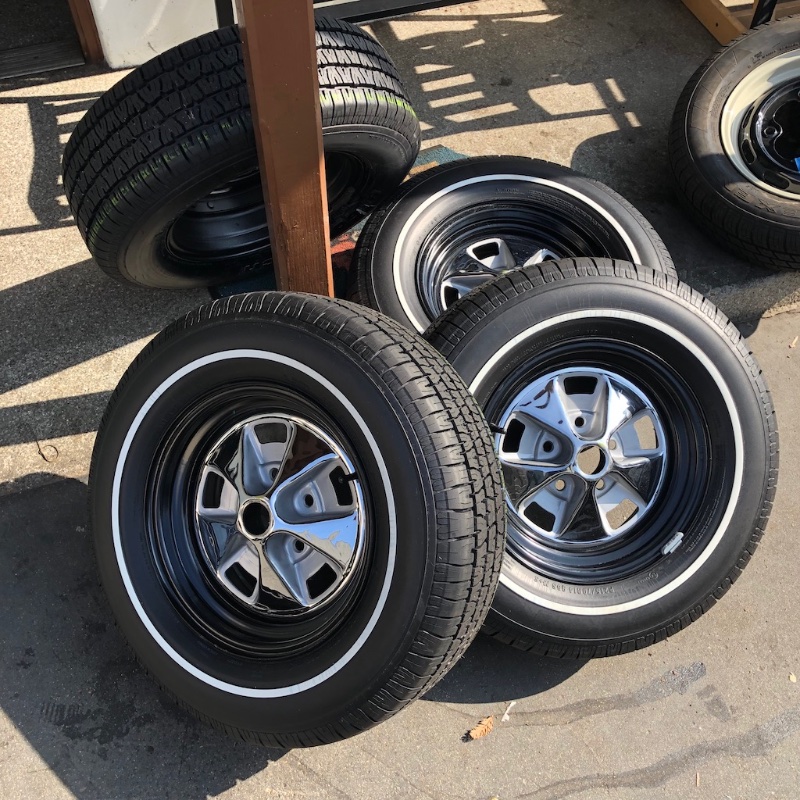
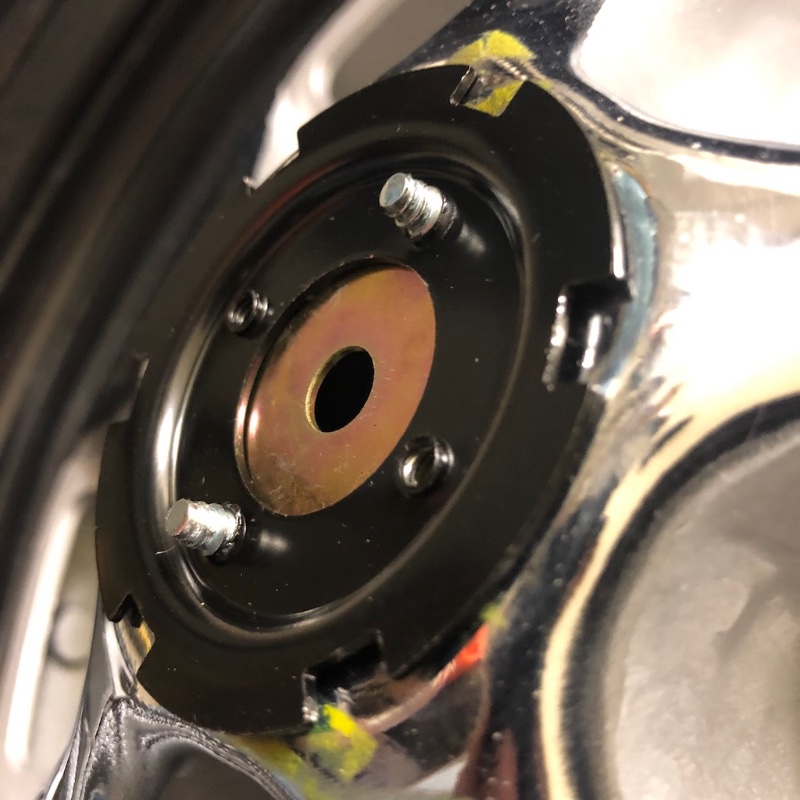
So all along I’ve used one wheel as my “test wheel” to try out painting techniques before doing the other 3. So far it’s worked out perfectly and I haven’t changed anything. But the silver portion is the most complex part, and things are definitely going to change this time.
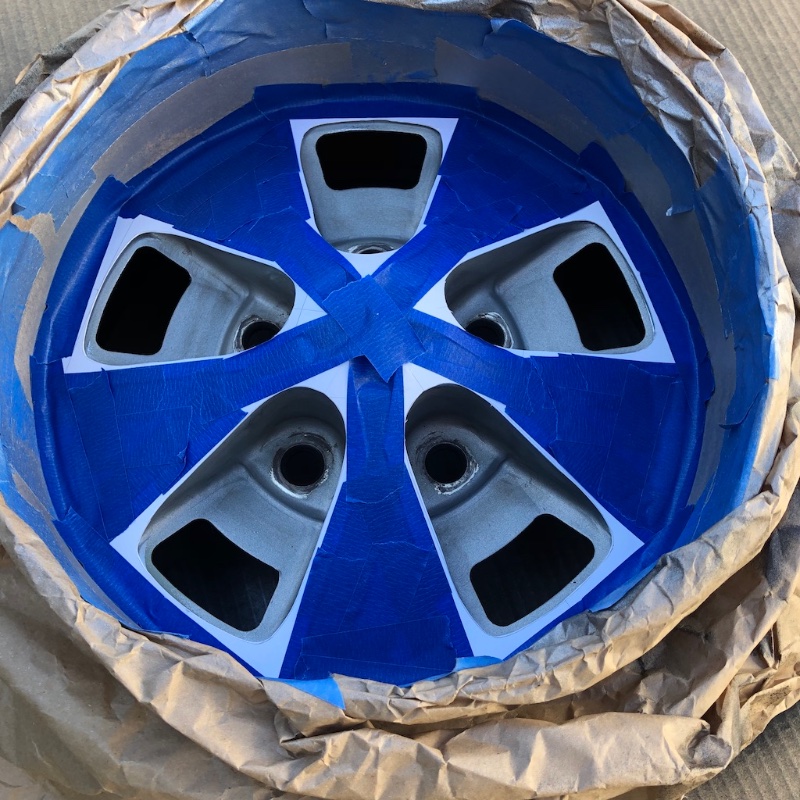
For my first attempt, I thought I would try the “paint everything and wipe away the excess later” technique. This general idea worked out great on things like the taillight grilles, so I had a little experience with it. So I made a masking device for the outer rim, cleaned and prepped the painted areas, and wiped some chrome polish (nevr-dull) onto the chrome in an effort to not let the paint stick well to those areas.
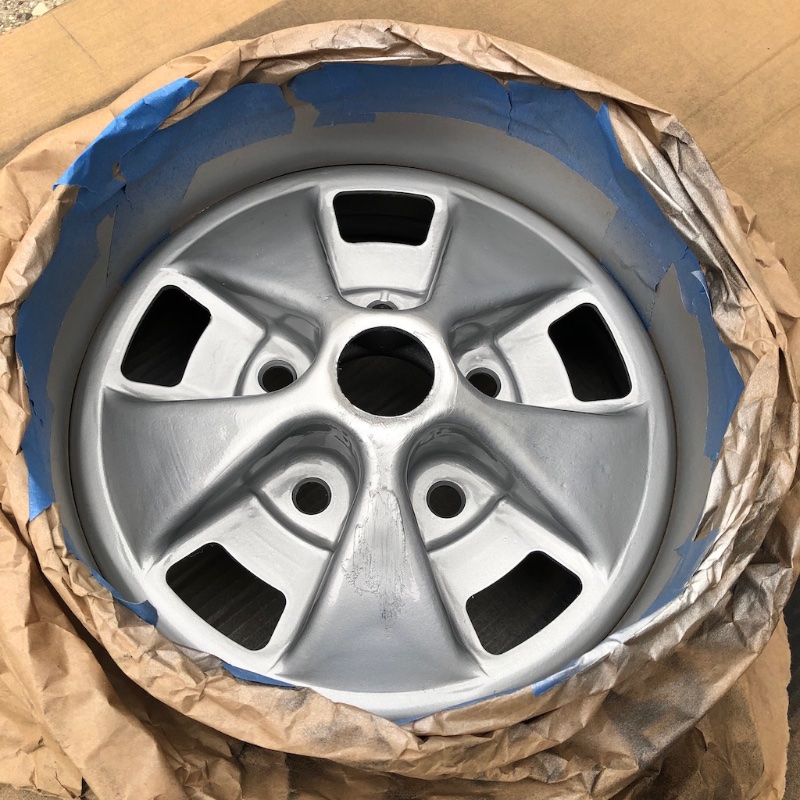
Then I followed the instructions on the can - VHT recommends 2 light coats followed by 1 medium coat. Either I wasn’t light enough on the trigger, or 3 coats is just too much, because this ended up pretty thick. You can see one initial attempt at wiping away the paint while it was still wet.
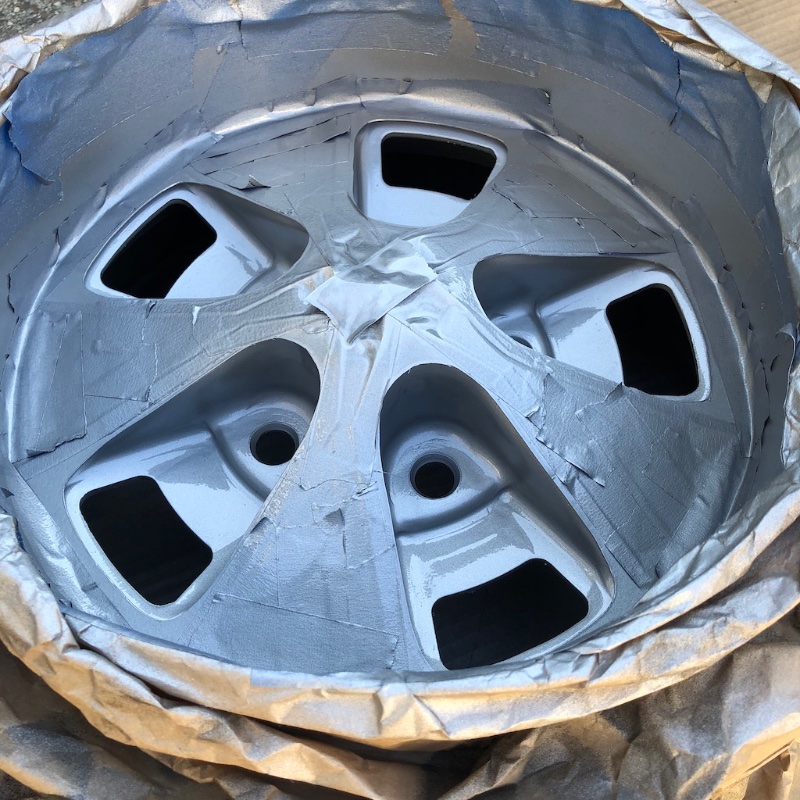
I dipped a cloth in paint thinner and tried removing most of the excess while it was still soft. It was tough going at first, but eventually got easier.
I stopped at the above picture, thinking that I might be able to refine the edge better when it had a chance to dry more. So I put it aside and started plotting how to do things differently.
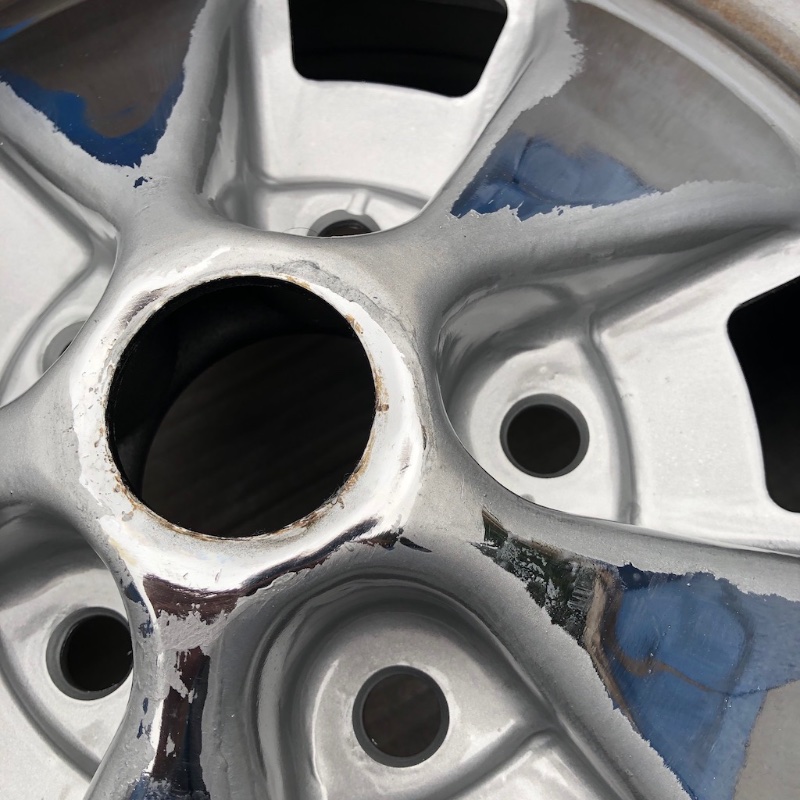
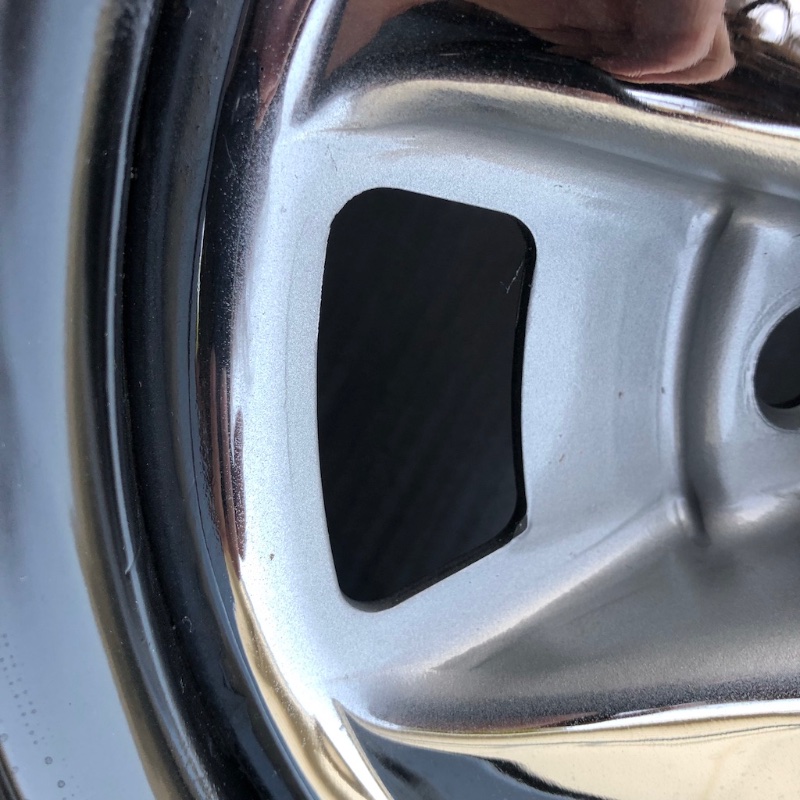
I didn’t love this wipe-off technique. It was kind of a pain, and I wasn’t liking the edges I was getting. Part of that is probably the paint being too thick, so I’ll try to address that next time. But also I wanted to try to better replicate what the factory did.
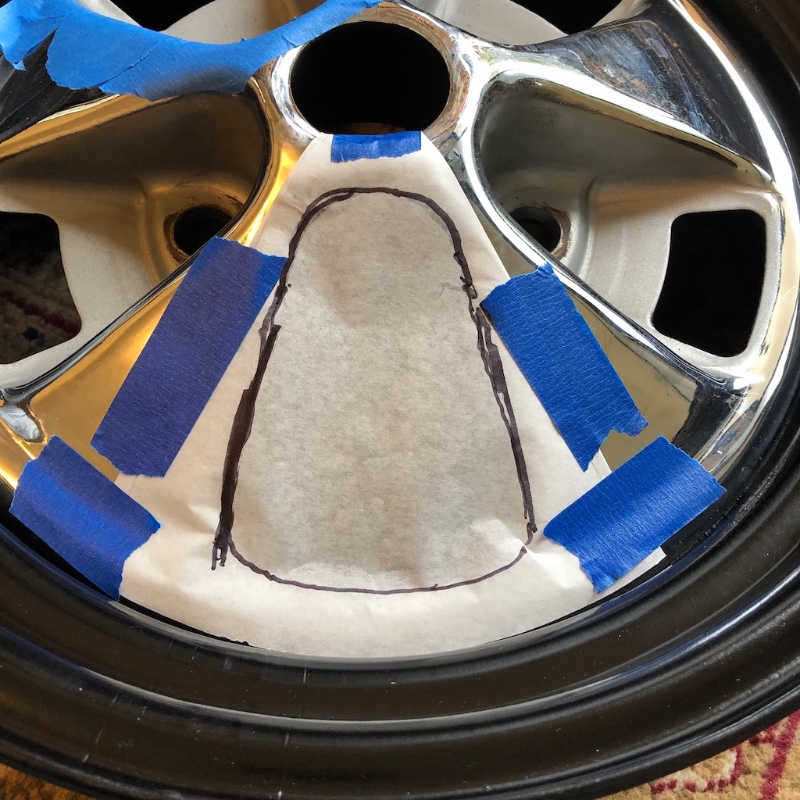
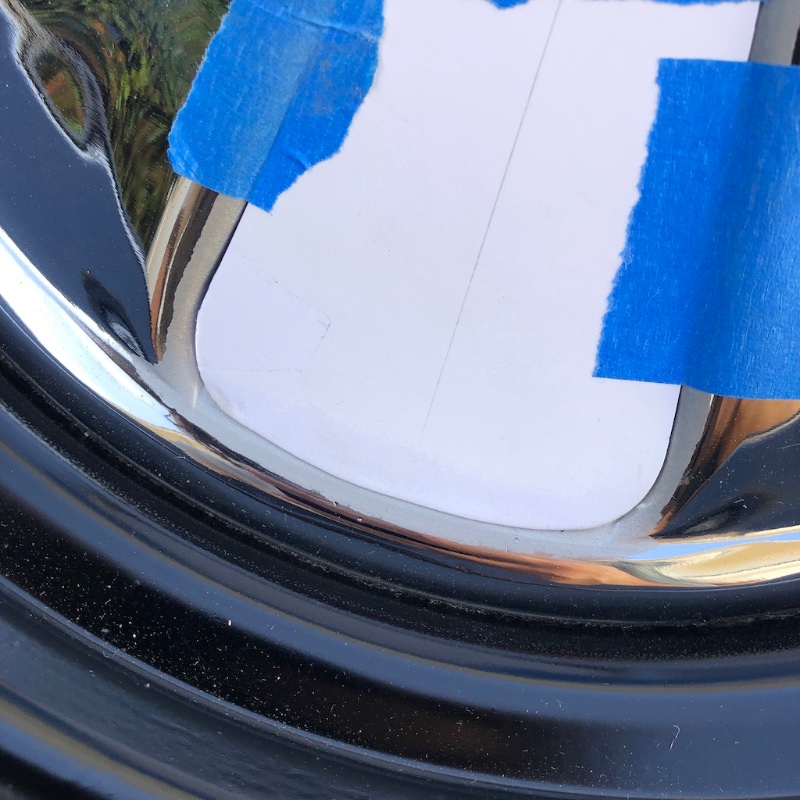
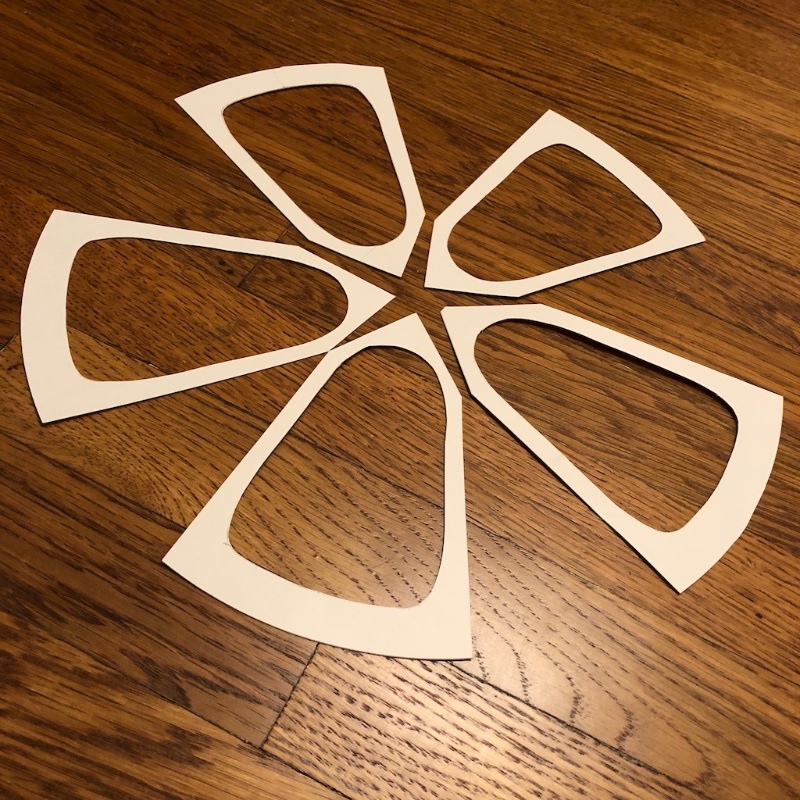
I kind of rejected the most obvious solution of just using masking tape, as the lines would be too crisp and I didn’t want to scratch the chrome with a razor blade while trimming tape. Also it’s a lot of work do to that to every wheel. So I figured the best way to replicate what the factory did would be to make stencils of some kind. There’s no magic way to do this, as far as I know, so I just took some parchment paper from the kitchen and made a rough outline to start with (using a different wheel of course).
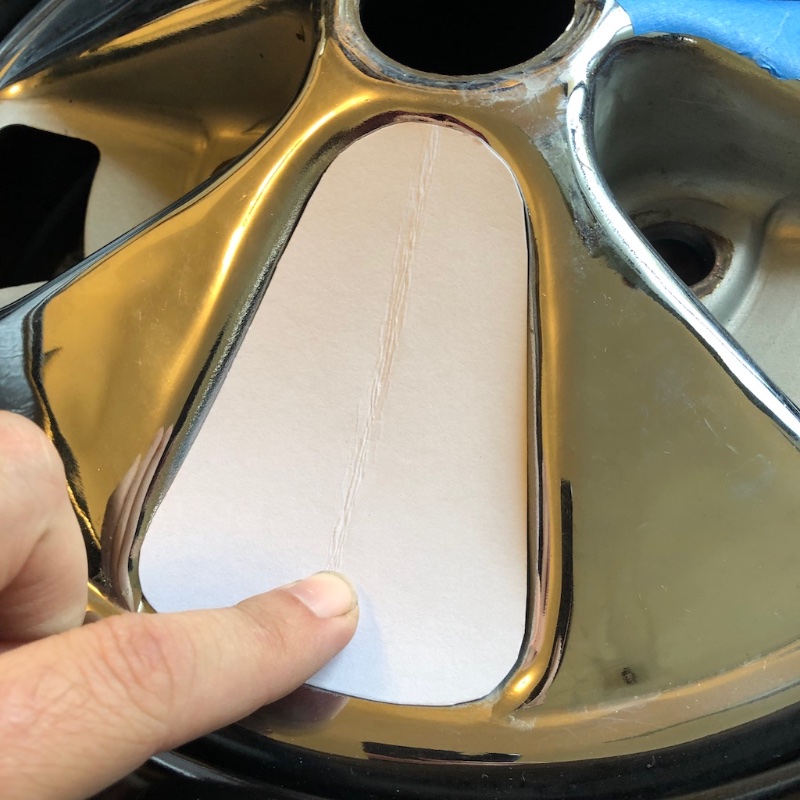
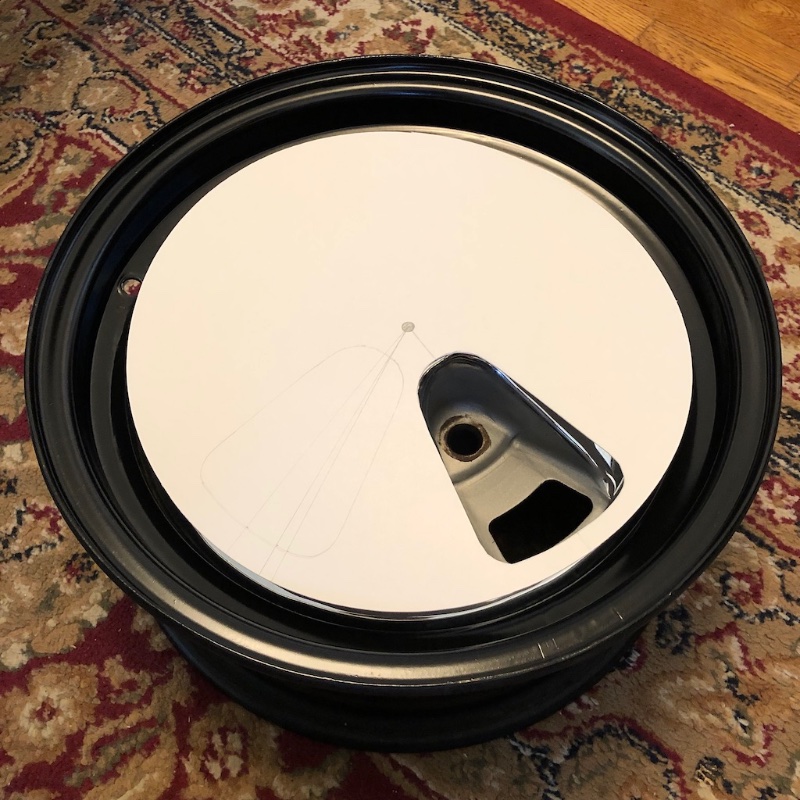
Once I cut that out and got it pretty close, I transferred the shape to poster board and cut it out, then further refined it with scissors until I was pretty happy with it. Folded in half to get it more symmetrical.
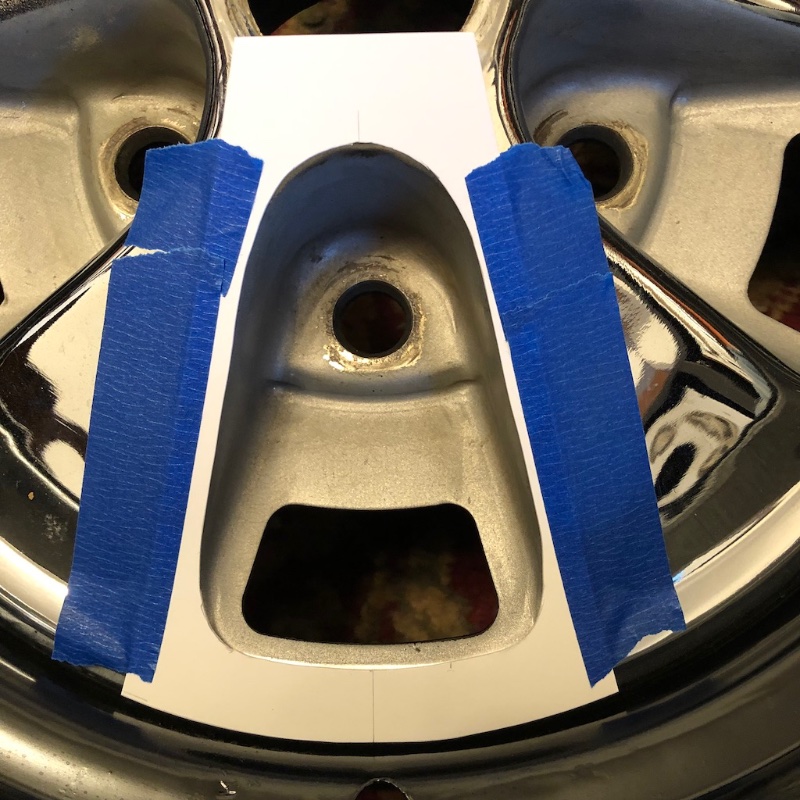
Then I used a junk vinyl LP as a template to cut out a circle, about the right size to mask most of the wheel center.
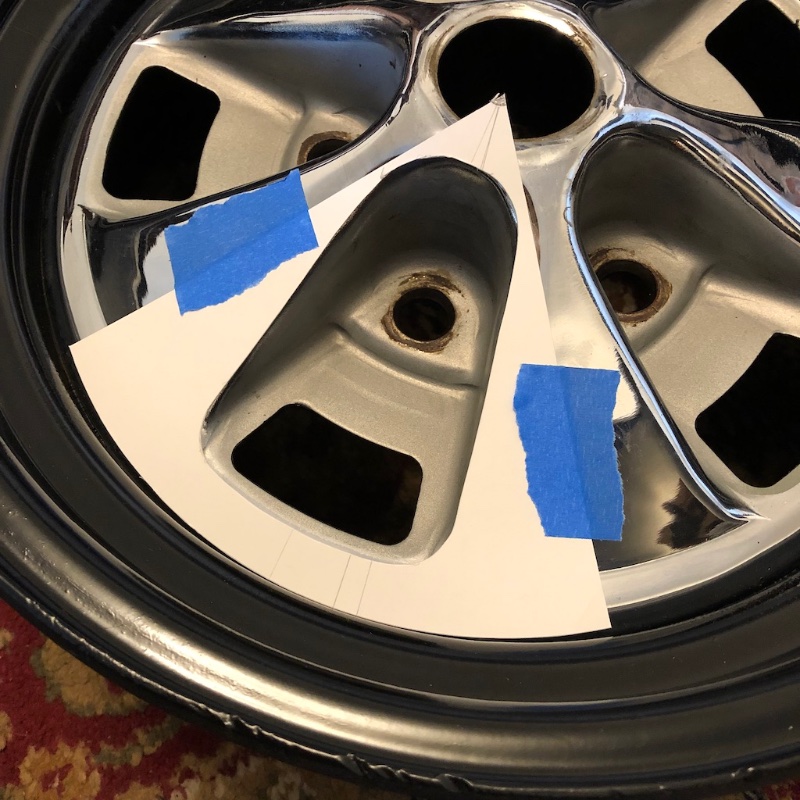
This led to what I’ll call the “Mk. I” stencils.
It wasn’t until I made a full set of 5 of these that I realized the openings were a bit too big. The reality is that they need to be a little smaller, because the paint overspray is going to get under the edges. However, there was a benefit to cutting out these “actual size” pieces… coming in next post.