I talked a a local that had worked on the line when the cars were being built. In '67 and '68 They used a template, actually a guide track, that attached to the side of the car with magnets it also draped across the top of the fender just a few inches. There were multiple striping tools, one for each color. All striping was done at a single station so that meant they had about 1 minute to hang the template and then run the tool through the track. I don’t have any pictures but this is what has been reported. Later possibly '71? they switched to a spray rig and that rig followed a fixed track down the car that tilted away after the car had been shot. On some cars you can see the over spray on fender trim.
Sounds very much like the pull down guide used on 69 Boss and Mach I Mustangs for the stripe around the hood black out that is illustrated in the Body Assembly Manual for 69. During 69 and 70 I would guess it was the same station with multiple fixtures
This seems logical!
But it sounds like the paint was applied by a wheel!
Is that not correct?
So how do we recreate this on our cars, most effectively?
I have an original example to examine, and it’s obvious the stripes weren’t hand painted.( that was my main point earlier)
It’s consistent with a paint wheel type application.
I’m not going to accept something close.
(After careful remeasuring several cars , I think F-19 is the closest tape match I saw listed)
F-19 tape, with similar paint roller for application,
Or go with the Beugler using dual wheel head # 57 X 2 with 50 pitch , or 1.60 MM with a 3.20 MM space or # 57 with two passes.
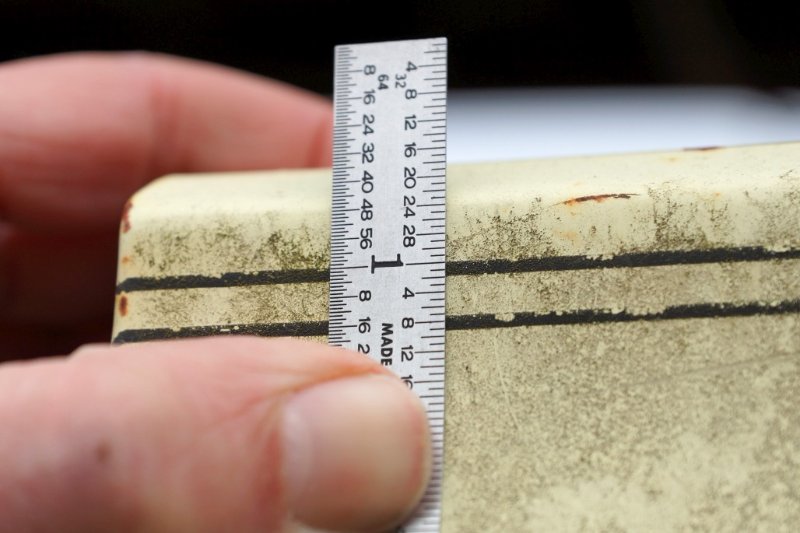
I found 7/16 -1/2 off top edge of body to be consistent.
Using 1/2 tape over body panels.
I looked at Beugler site. Looks like they have some different magnetic strips to place to serve as guides “templates” to follow to get the lines right, and then different gauges to mount to the tool. Sounds much like the ‘template’ track method that Bill describes.
Would be quite the expense for one person to get into just to do there own personal vehicle. Think I would either have to do tape and paint (if I get that courageous) or find someone to do it for me that has the equipment and experience.
I usually (not always) end up having to do things twice on my car to get them right ![]() Painting on stripes wouldn’t be that forgiving I don’t think.
Painting on stripes wouldn’t be that forgiving I don’t think.
Does anyone have any close up pics of their stripes they applied themselves with the Finesse method? Can you really see brush marks? I thought they had that paint formulated to be ‘self leveling’.
I remember having our business name painted on truck doors years ago. Sure the guy is long since past, but when he hand painted things on you could never tell it was brushed on other than you could always tell he used a single strip of masking tape under each row of script to get it all straight. No brush marks apparent though. This is on wide lettering, not 1/16" wide stripes.
David
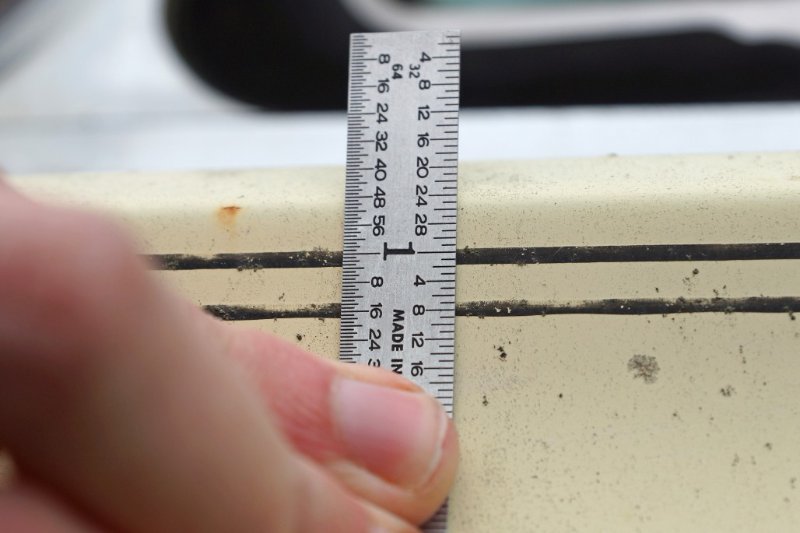
Here are some more pics. I was going to do some labeling and whatnot but for now I’ll just post these. These are all on 67’s, and I’m only assuming these are original because they look like it to me. All stripes appear to be closest to 1/16", some are a hair skinnier.
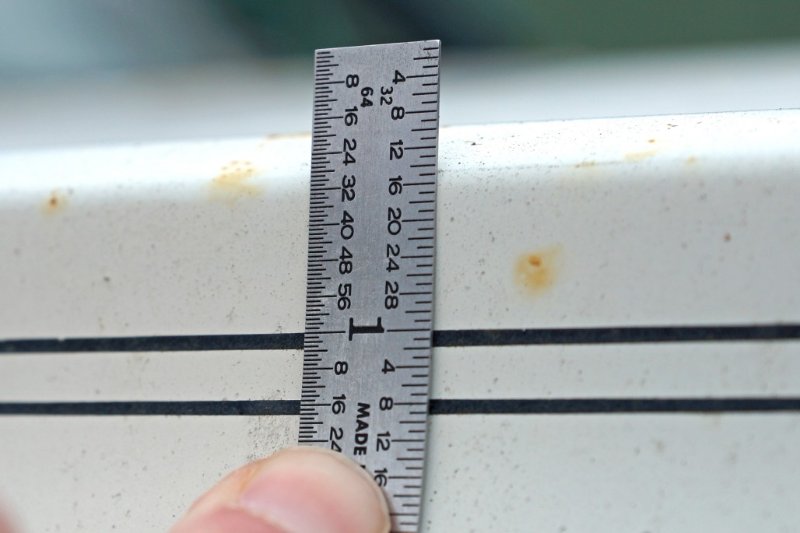
This is the 67 I saw with the wider 3/16" gap:
Back to 5/32":
5/32" again:
Below: closeup of the stripes, this shows a pattern that looks like it’s from some kind of rolly-wheel situation.
Slightly over 5/32":

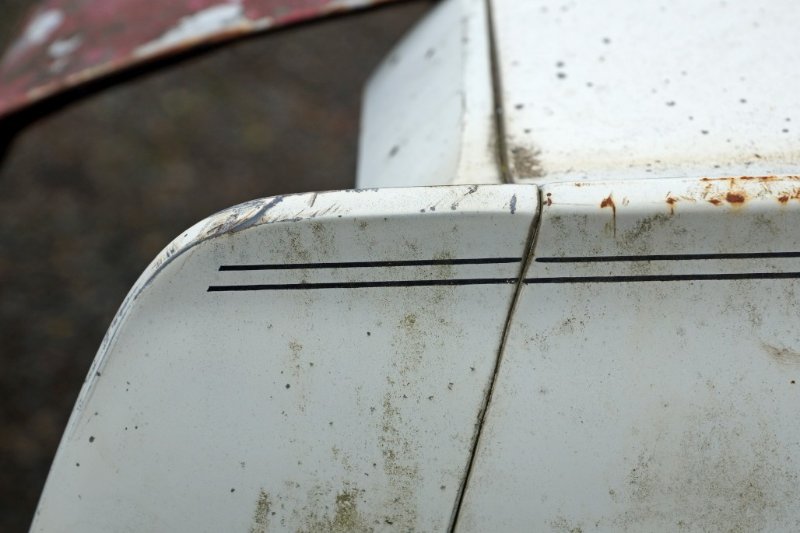
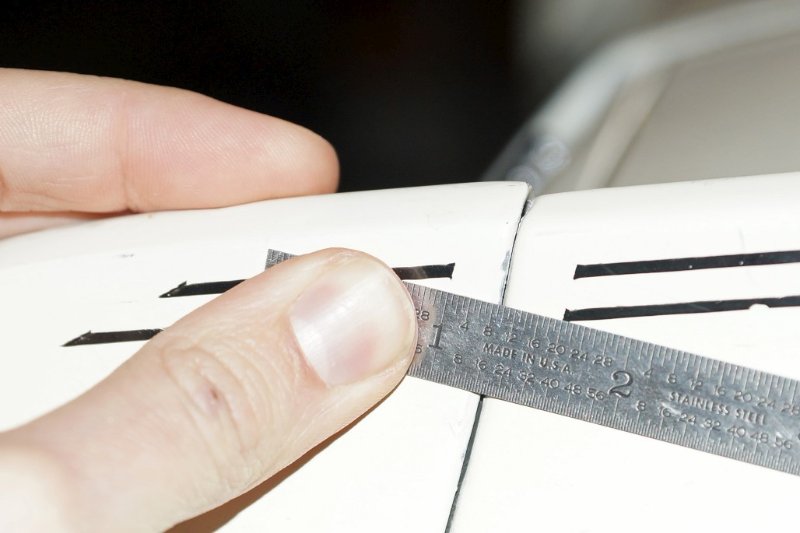
And these show an example of how they end on a '67’s fender extensions:

That would be a 1/8" gap, much too narrow based on what I’ve been seeing. I’m gonna say that F-42 is the way to go, at least that’s what I’d buy at this point.
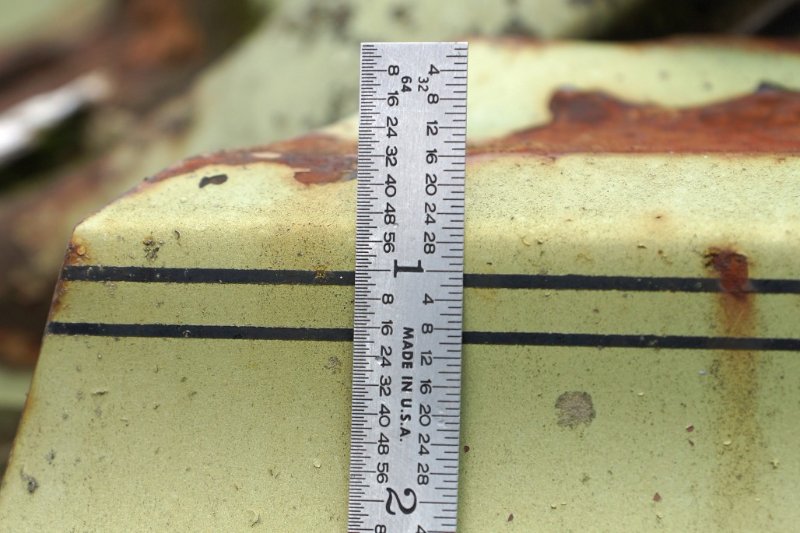
Here’s one more for now, showing that the masking tape used at the seams for '68 was 5/8" (on this example anyway). Ruler translation: 20/32" = 5/8".
Ok pics of my 03 -08-68 build date 8F91W543072
Not to be confused with 1967, or San Jose plant

Andrew reposted my earlier pics here
Sorry about the slip of the ruler!
Looks like you had an issue with the pics, keep in mind that the name of the file has to be in between the code brackets [CCCGallery] in front of the file name and [/CCCGallery] after. Here they are:


Thanks for sharing these, very interesting to see another version. Those definitely appear original and 1/8" apart. So… maybe a Dearborn vs. San Jose thing? And regarding the taped gap at the seams, that does look closer to 1/2", or maybe 9/16". Hmm, the plot thickens.
Thanks Andrew
Using my phone ![]() is definitely more challenging than posting from a desktop computer!
is definitely more challenging than posting from a desktop computer!
Probably entered the image between the wrong set of brackets ![]()
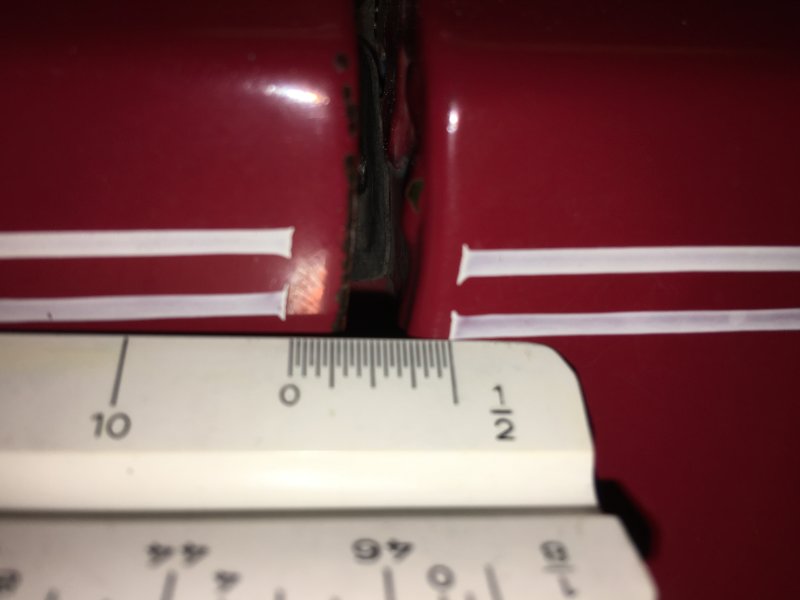
The spacing on the extensions are treated differently as shown below
Fender

Quarter panel

The lines break for about 1/4” .
Once I run some practice lines I’ll report on my results.
My research has led me to believe that the dual wheel using a Beugler device was not possible. The surface would have to be flat, or another device used with that capability. (probably not)
The second stripe needs the device reset for the proper spacing
Having purchased a Beugler for $60. I was confident using this method.
I practiced on a project car , and was happy with the results
I did have to pay up another 35 for the magnet template that runs the length of the vehicle
So you setup one time with the template and move the arm on the Beugler for the second pass.
Th trick was to let the paint air out to get the right consistency before loading paint
This is certainly one method to recreate the original look
Cool! Pictures of the end result?
So I got the F42 tape. Actually bought a couple rolls so I could do some practicing first. One of the things I am looking at though is the bend the stripes make under the quarter windows at that body line bend. Bill’s BBcat thread has a good photo of it. Can see a little bit on Brian’s, and Royce’s. Especially on Bill’s it is really apparent the stripe curve doesn’t really match the body line curve. The one’s showing the restripe appears guys are trying to get it a little closer to the same. Did it vary from car to car? Would think with what has been said about how they were applied that it would be pretty consistent from car to car. I imagine the roller method they used only allowed them to get “so sharp” of turn. Anyone got any more close up photos of that particular spot?
Thanks!
The line workers used a template for the stripe layout. So the shape of the stripes were identical from car to car originally. What could vary would be the position of the template on the car, or the position of the masking tape on each body line / fender extension break because all of those things were done by humans.