I bought a replacement dash pad for my 68 XR7 a while back and had a heck of a time getting it installed. I actually never got the windshield strips installed at the time. I just tore down the entire dash again to restore the rest of the dash. I found out on a Mustang site about cutting away the area near the VIN tag so it can stick out between the pad and the windshield strip. They also showed trimming the pad to fit better up against the windshield but that dash pad had a thin area whereas the Cougar pad seems too thick hindering the ability to even get the screws located and started. I was thinking of trying to thin this area up some but I am wondering what to use and if doing this will come back and haunt me later. I really don’t need to buy one of these again.
When I reinstalled my original dash pad those strips were a PITA! I used a bright light to locate one hole at a time and then took multiple stabbing attempts with the screws until I hit each hole. I never tightened any down completely until all the screws were partially threaded. It probably took me over an hour just to install those strips so I feel your pain. I can’t answer about trimming the pad. Maybe someone else will chime in about that. Good luck.
I have to say that the dash pad was one of the nightmareist (yes, that’s a word) parts of the entire restoration of my '68. I did have to carve away a few places near the windshield as you are saying, and at the outer edges, mostly so the doors would close right without hitting the dash. There was never anything that I couldn’t trim that was visibly unappealing, but as you said it was a true PITA!
Here is a good topic with photos that covers the dash pad during Gry’s Xr7G restoration. She used a 60 grit disc and a grinder to thin out the thick areas of the reproduction pad to ease installation. I hope this helps.
Steven
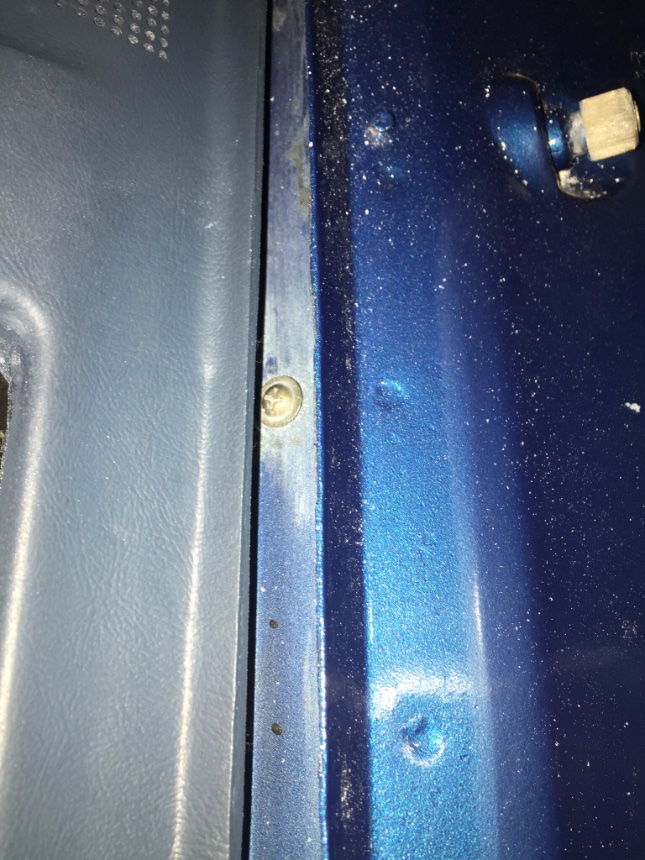
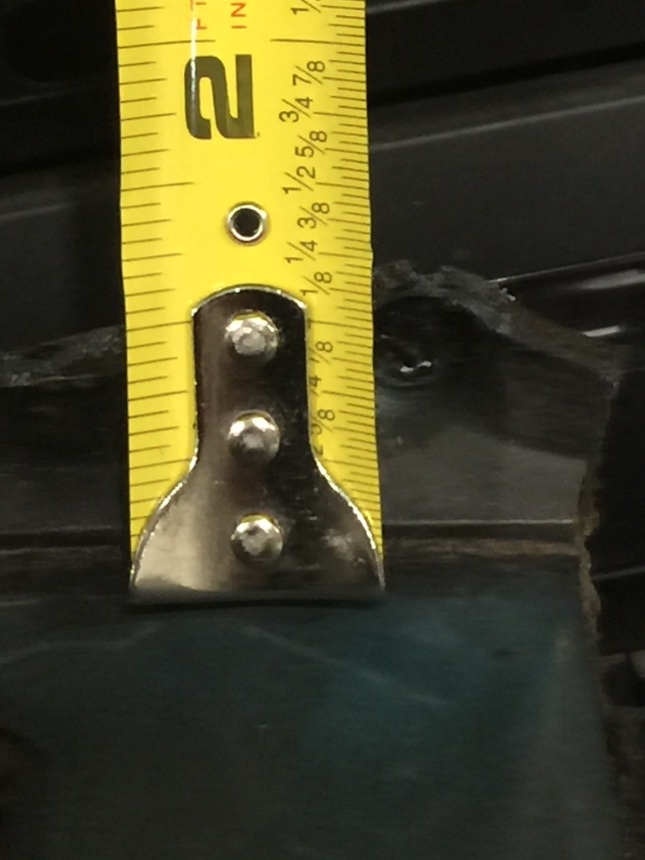
I’m currently in process on this. I have my very nice repop dash pad from WCCC, I too took sanding discs to the leading edges just like Gry did in the linked thread, and now the pad fits really nicely in the front, the sides and all of the mounting holes line up easily EXCEPT the pad still does not reach the front channel screws under the windshield. I do not think I can attach it up there with the existing screw locations. Probably a 1/2 gap before the edge of the pad even reaches the screws.
My original pad is so dried and twisted that I cannot use it as a gague for whether or not the new pad is too “short” or not, but it does seem like it may be longer, particularily where it upturns to sit in the front channel. Looks like about an inch long on the old, maybe 1/4 inch on the new.
I’ll try to post some pics ASAP.
Any extra advice from anyone ho has been here before me?

I recently replaced the dash pad in my '68 and I don’t recall any screws holding the dash pad down under the windshield. I just used the windshield strips to hold down the leading edge of the dash pad.
Thanks Dave. There are definitely 4 screws designed to hold the front of the pad in place, but I’m encouraged that you did an install without them and I assume it’s working out well.
Do you remember if your pad got closer to the front, or does mine look like it’s “there”?
If I recall correctly, it was closer. But then again, I used a nice, used original pad.
Question for those of you who have replaced the dash pad. My 68’s pad is generally in good shape except for an upward bow on the underside just below the steering wheel as if the material degraded and compressed upwardly. The finish on the surface material is a little tacky and not smooth like the rest of the dash.
Any educational comments on what that might be?
Thanks,
Brad
That comes with age, that part of the dash doesn’t get cleaned as often as the top. just use a good cleaner and it will come off. I use Greased Lightning on everything but whatever works.
Thanks, I’ll give it a try.