more pics
long thin part were the easiest and I believe will handle any heat as there’s little stretch required.
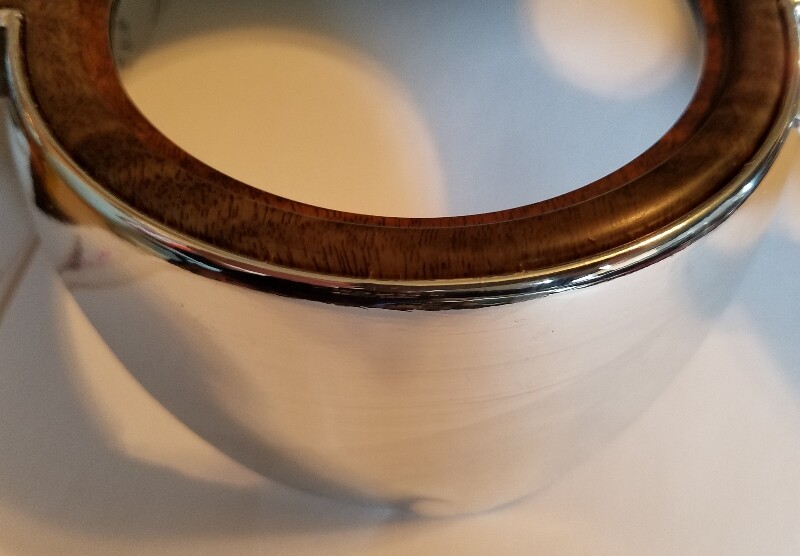
updated my technique to produce a crinkle-free bezel. I also constructed a very soft leather wrapped supple plastic stylus to keep from scratching/marring the vinyl surface as I gingerly encourage the vinyl over the large surfaces. I think I’ve finally got a GTE worthy process/result. I also now have a set of patterns to use for consistently producing a ready-to-apply vinyl chrome applique. ![]()
I’ll update with the finished photos when I can get the entire dash bezel done, which may be when the garage gets warm enough for me to feel my fingers.
Now that looks like you got something going on, I know it’s harder than it looks, because I have tried something like that, my problem was, the chrome film was too thick, I would like to find a thinner film.
agreed. thinner might be better/easier in the inside corners/radius’ but more treacherous in the large flag areas where you are constantly needing a slight stretch. I believe what I’m using is 4 mil. much thinner and you also lose the ability of the overlay to hide micro-imperfections.
That looks really good! Congrats and great job keeping at it!
That does look really good. Can’t wait to see the finished product.
where did you get the vinyl rap? looks good, the black trim on the bezel, what did you paint that with? picture of Stylus? thanks… i’m doing my dash now. have it all torn down. thanks to the WCCC video!! has anyone tried the chrome spray paint?
I got it online from a place call Cheetah Wraps https://www.cheetahwrap.com/shop/avery/avery-chrome-wrap-vinyl sort of a random pick, but they had good prices and allows you to pick sizes that better suited my need to experiment w/o taking out a loan.
The black is actually un-restored original color.
the stylus is just one of those $2 bondo spreaders you can get at O’Relily’s or any automotive chain. I just cut it down with a pair of shears and got some really thin very soft leather from my wife’s crafting stash. I dusted of my sewing skills from my youth and stitched it around the cut down plastic then inverted it to put the seams inward.

quick update. got the dash chrome vinyl overlay done. it’s pretty good, but now will have to wait for warmer weather to see if it stands the test of time & temperature. Not too difficult to remove if later I decide to go thru the time & expense to re-chrome.

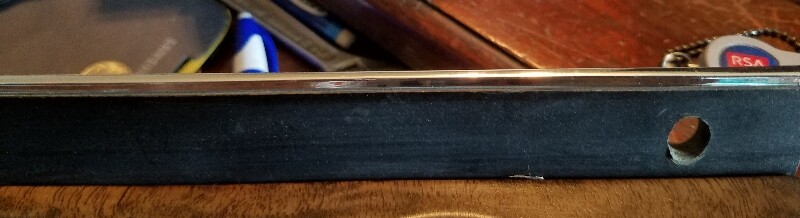
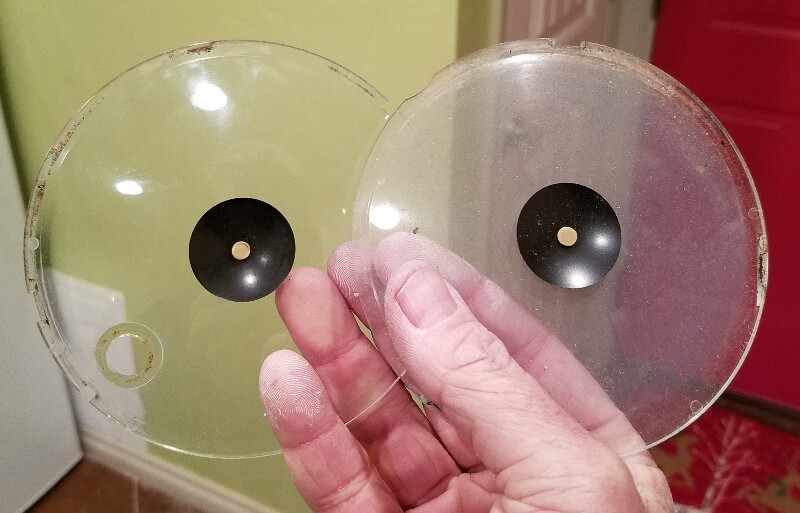
now working on rehabbing the lenses with 10000 grit polish and removing paint/rust and repainting metal bezel pieces.
Which product did you use, it’s stated that Avery is 5.7 mills and 3M is 3.5 mills, but don’t show chrome.
I am very interested in this process, thanks for showing.
ok great thanks for the tips!!
I ordered 48" Avery SW900 SIlver Chrome (843) “WRAPASWRAPCH48” from CheetahWrap.com. $27 + Shipping. You’re correct, it’s 5.7 mil, not the 4, I thought I remembered it to be. It’s certainly tougher, but makes me wonder if the thinner 3M might be more workable.
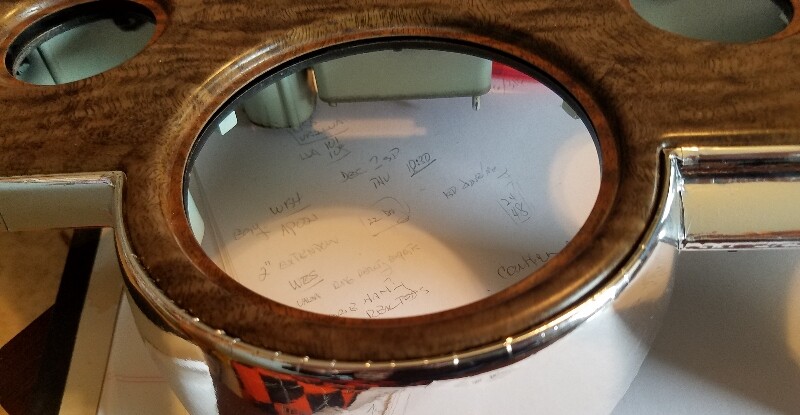
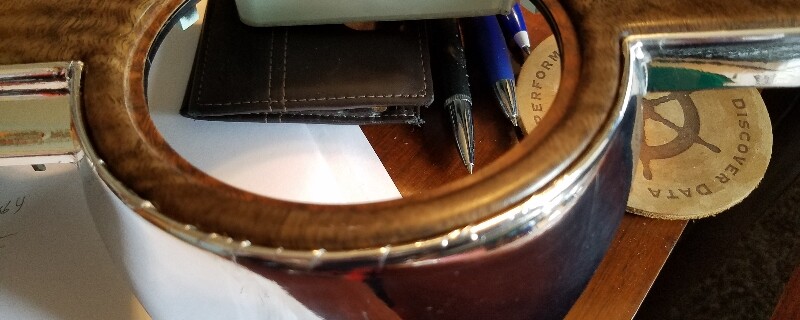
holiday update. still working on making all the foam bits on the inside and cleanup up the toggle switches and such. but…lenses polished, gage faces cleaned, metal parts cleaned & repainted
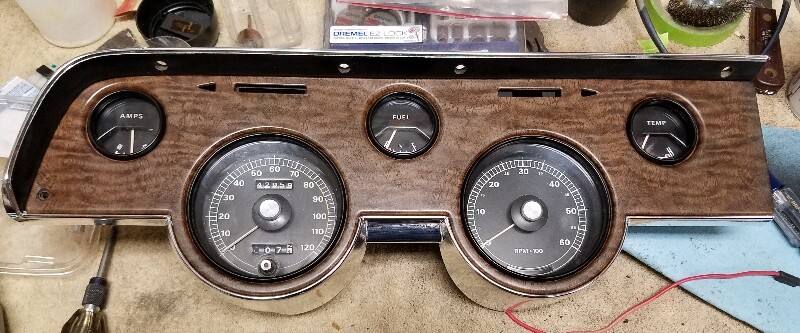
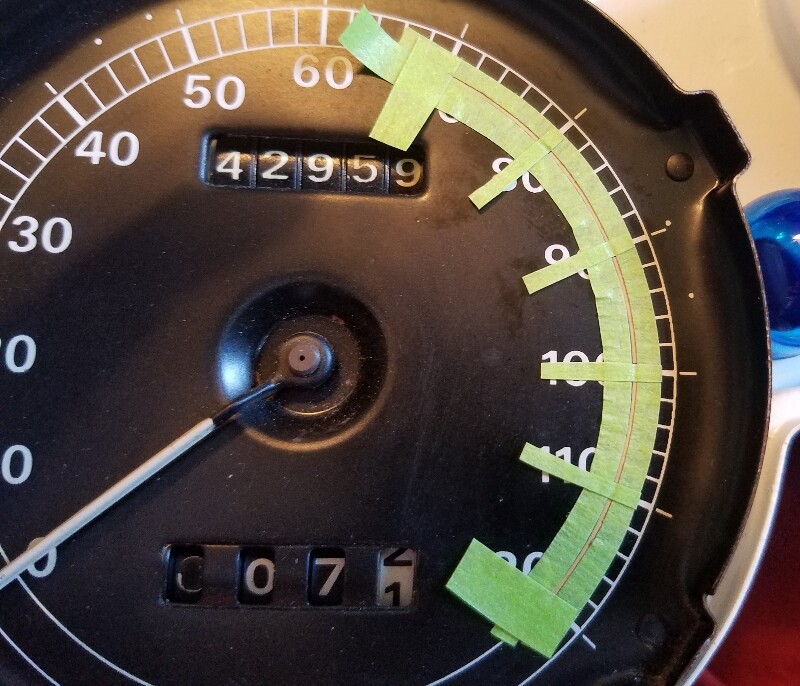
You need to paint the orange stripe on the speedo.
Just the speedo, or both? I’m trying to find some good images on ‘the google’ but those dang mustangs (which I love) keep showing up. Many of those have both the tach and speedo painted.
No orange on the tach. Though I’m not sure why, that would be more appropriate. I took the lazy way out and bought a speedometer that still had bright orange paint. I’m not sure how easy that would be any more.
akfordman,
Before paining needles, do more checking, all I have seen are white on speedo and tach. There is a how to on WCCC web site.
Needles are white, talking about the stripe on the face of the speedo.
Doh! Yeah, figured that out after a bit. Also found a post were the red-line was cleverly masked to make painting it much easier and way more precise https://www.diyauto.com/manufacturers/mercury/generations/cougar-gen1/builds/1968-xr7-g-hertz-restoration-by-xr7-gry