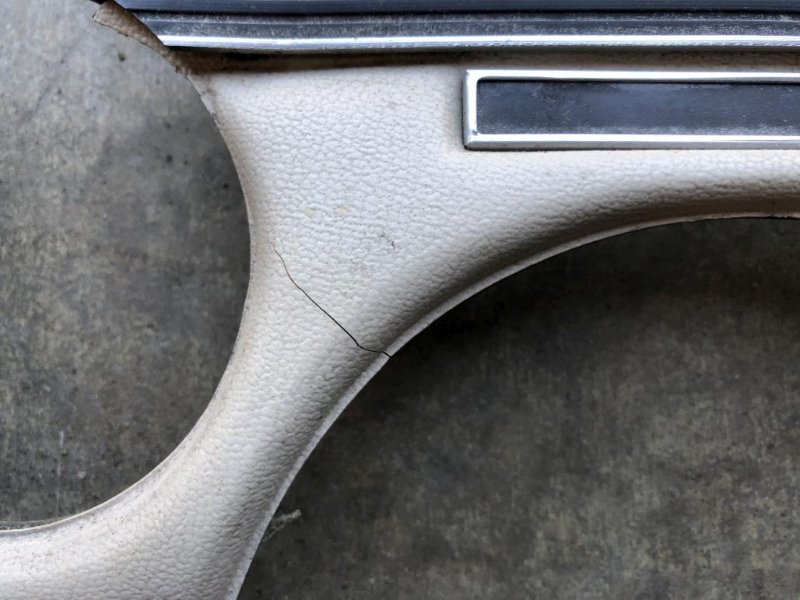
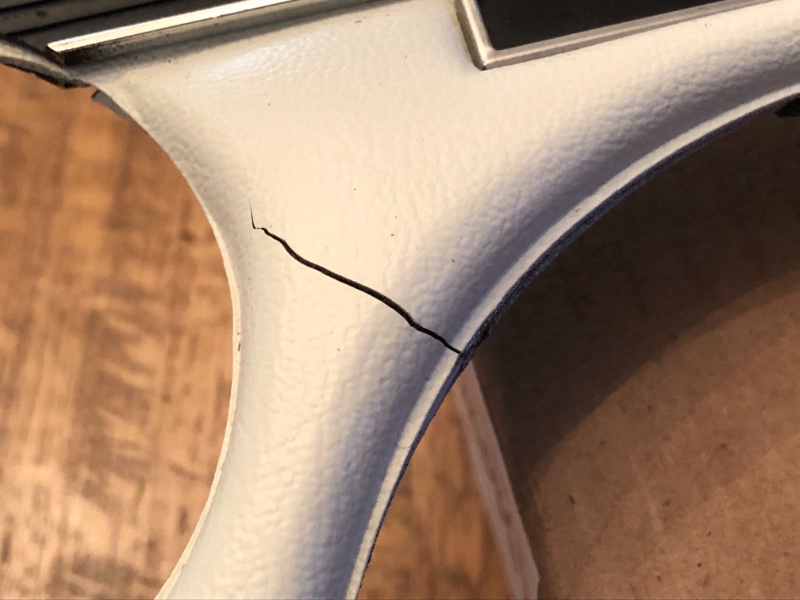
It’s so narrow that it would be hard to work glue into it without mucking up the front surface. Could I use a syringe with a certain kind of glue? Fast acting would be nice because the only safe way to “clamp” it together would probably be to hold it together with my hands. I saw another thread where someone recommended cyanoacrylate adhesive. Open to any ideas!
I kinda wish these were reproduced… maybe someday.
It’s not curling up, so you could just rub it with a thickened vinyl glue, then press another textured piece of vinyl against it to create texture and camouflage the repair, then respray it.
I have bigger cracks in mine that are curled up, and I haven’t devised a good solution yet.
Check out some luthier supply places like StewMac- they sell extremely small, flexible tips for CA glue bottles that can be used to wick tiny amounts of glue into very tight places.
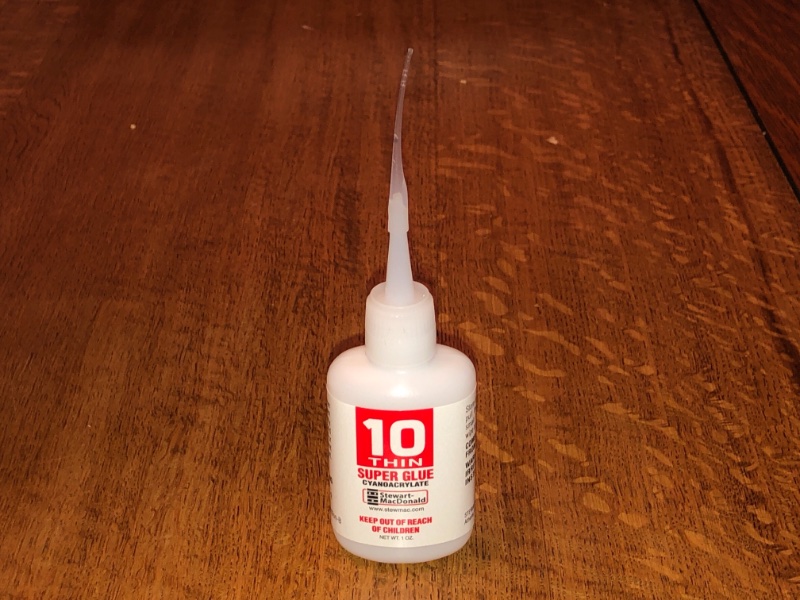
Great tips, thanks! I just ordered a couple little bottles of glue from StewMac, that looks perfect. They come with some of those tiny tips to get into tight places. Will report back with results!
Do not use any amount of glue in the crack, it will always show. You hollow out the back and fill it with a 2 part epoxy from TAP plastics and it will never again break in that area and cannot be detected after it is painted. Chris Brost has done several for us in the past.
Don’s method is probably better but I have fixed a few cracks with ca glue with good results. The trick is to not get any glue on the surface. Regular glue tips don’t give you enough control. Another trick is to rub wax on the surface around the crack as the glue won’t stick to the wax.
I repaired my knee pad in a similar fashion. It was warping and distorted around the bolt holes with a small tear. Glued it all back up with a contractors type adhesive that bonds anything together. Made some supports for around each hole including the rear and zip tied it all together to cure. Looks brand new again.
I would maybe try that on that crack too if the ca glue doesn’t work.
The epoxy thing works better than any glue. I had a shop try to fix a couple in mine. They just did it with vinyl glue on the surface. Didn’t look that great. My backing board was broke as well, and they reinforced that with some board material. I decided to strip and redo my face pad, and redid that crack with epoxy. Looks much better. I used an epoxy on the back (underside) of my console top pad as well to re-adhere the vinyl to the steel backing.
On a side note I find it kinda funny (Andrew and Don) that your chit chatting on here. I suppose it’s to our benefit though. None the less if it were me I’d be walking over to Don with the piece saying “any ideas how I can fix this”
That’s a great idea too. I think that’s the biggest risk, getting too much glue in there and having it ooze out. Gonna have to be very surgical about this. I got two different “weights” of the ca glue, will have to find something else to practice on. The thin one is supposed to be good for wicking into fine cracks but it might dry too fast. So I got the medium weight as well.
After testing out both the thin and medium weights of glue, I concluded that the thin weight was going to work better for that thin crack. So I attached the smallest nozzle and went for it…
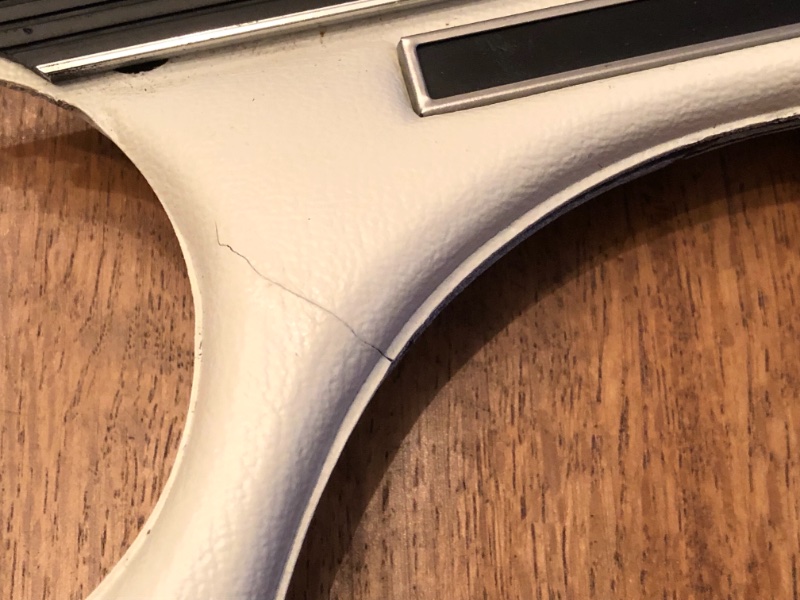
I knew I didn’t have much time until it would cure, so I carefully worked some glue into the crack, immediately wiped off a little bit that oozed out, then removed the box holding the right half and pressed the two halves together for about a minute. When I let go, it stayed put!
Anyway, it’s obviously not a total repair, but it’s an improvement and less noticeable, and I’m glad I didn’t make a mess of it. Now I’m wondering if I should gently dab a little of the SEM paint over it to see if that will hide it a little better. Dunno, sometimes the less you mess with things, the better. Thanks again for the tips!